
So for this week's D.I.Y I've done a cute Rainbow Canvas Board. As per usual it was super fun, easy and cheap to make.
The reason why I made it was because it is one of my friend's birthday's coming up, so I decided to make her something special and put my crafting into action. So lets get started on this weeks D.I.Y!
What you'll need:
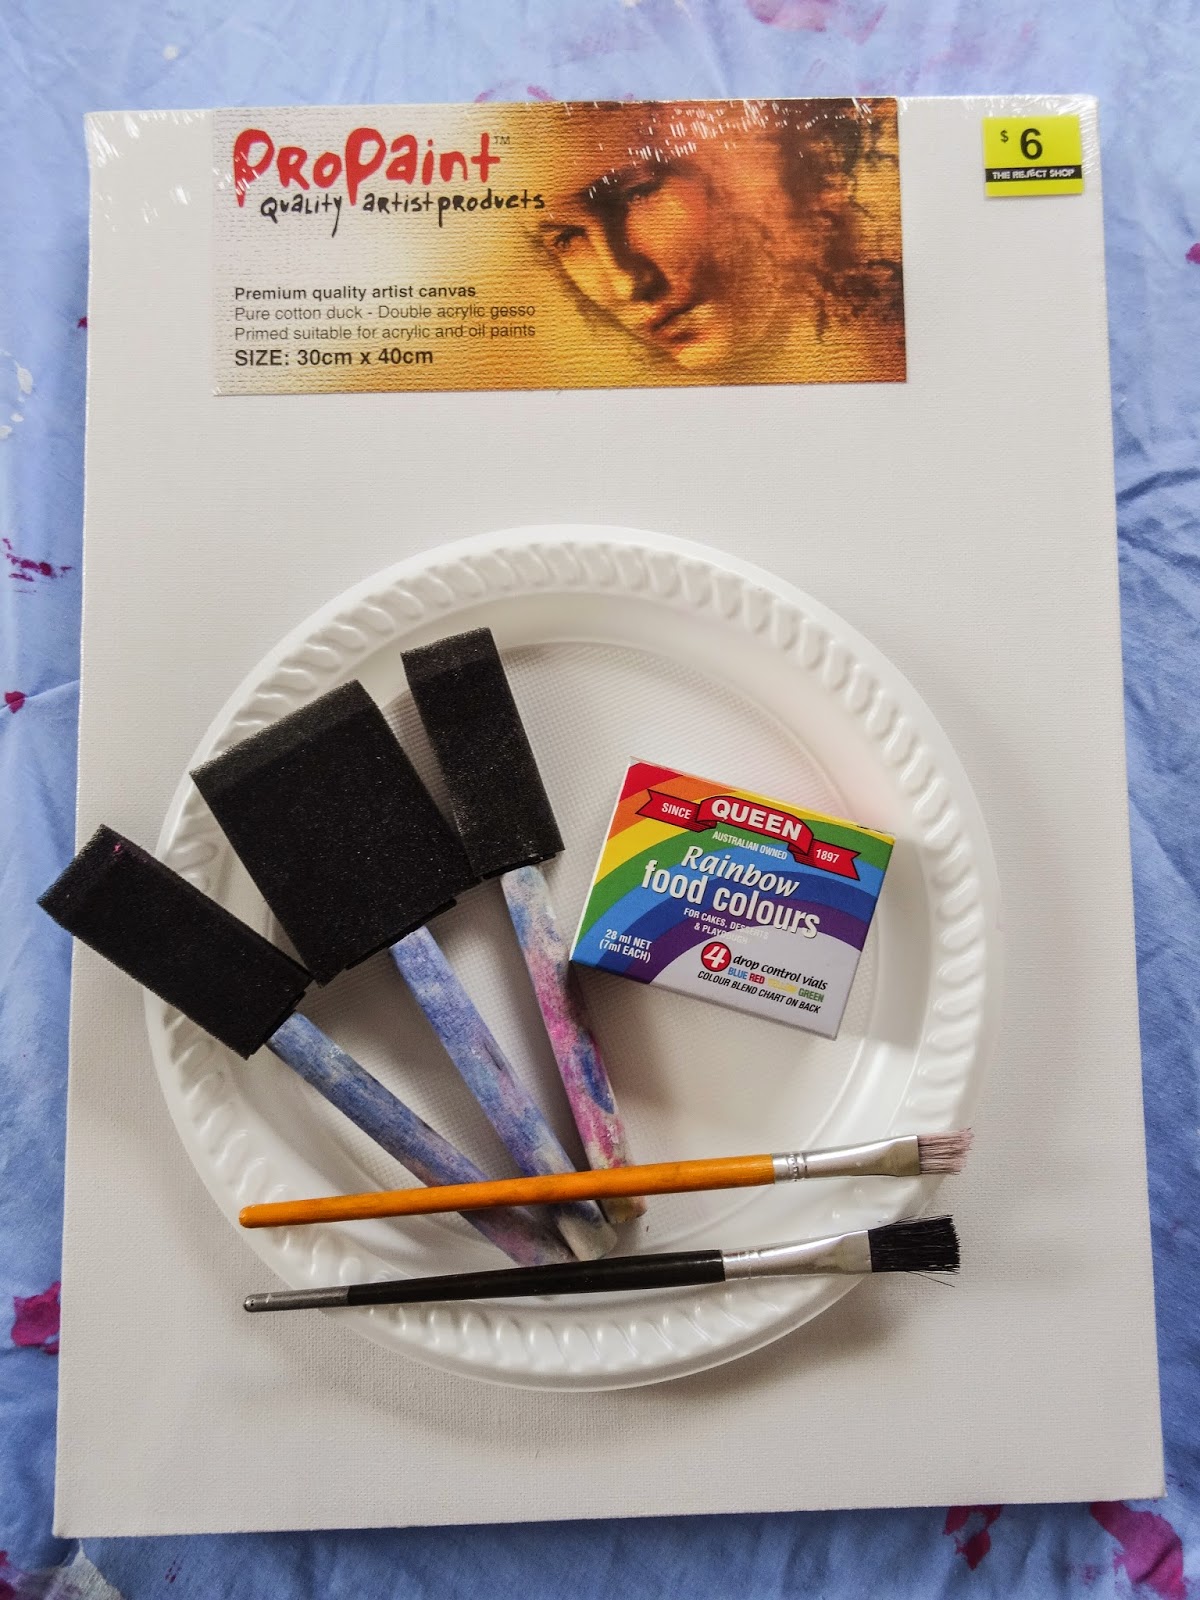 White Canvas- Mine was 30cm x 40cm but pretty much any size will do.
Paint/food colouring mixed with white paint- The colour palette is up to you but I recommend colours that blend into each other nicely.
Paint brushes/sponges- A brush and a sponge for each colour so that you can us sponges to paint and brushes to mix. Use the number of brushes and sponges that you have of paint.
Plastic/paper plate- to place your paint on.
A black marker- an optional choice to draw a pattern or picture over the paint.
Preparing for work:
Make sure where you are working is protected with either a cloth or newspaper. This D.I.Y can get messy and you don't want to ruin your floor or furniture. This is the same with clothes. Make sure you aren't wearing your favourite band logo t-shirt or any expensive clothes. I wore an oversized shirt and shorts that I didn't care about. Also if you have long hair like mine you might want to tie it back so you don't get paint in your hair. Also if you want you can get a reference image that you like for your painting go ahead.
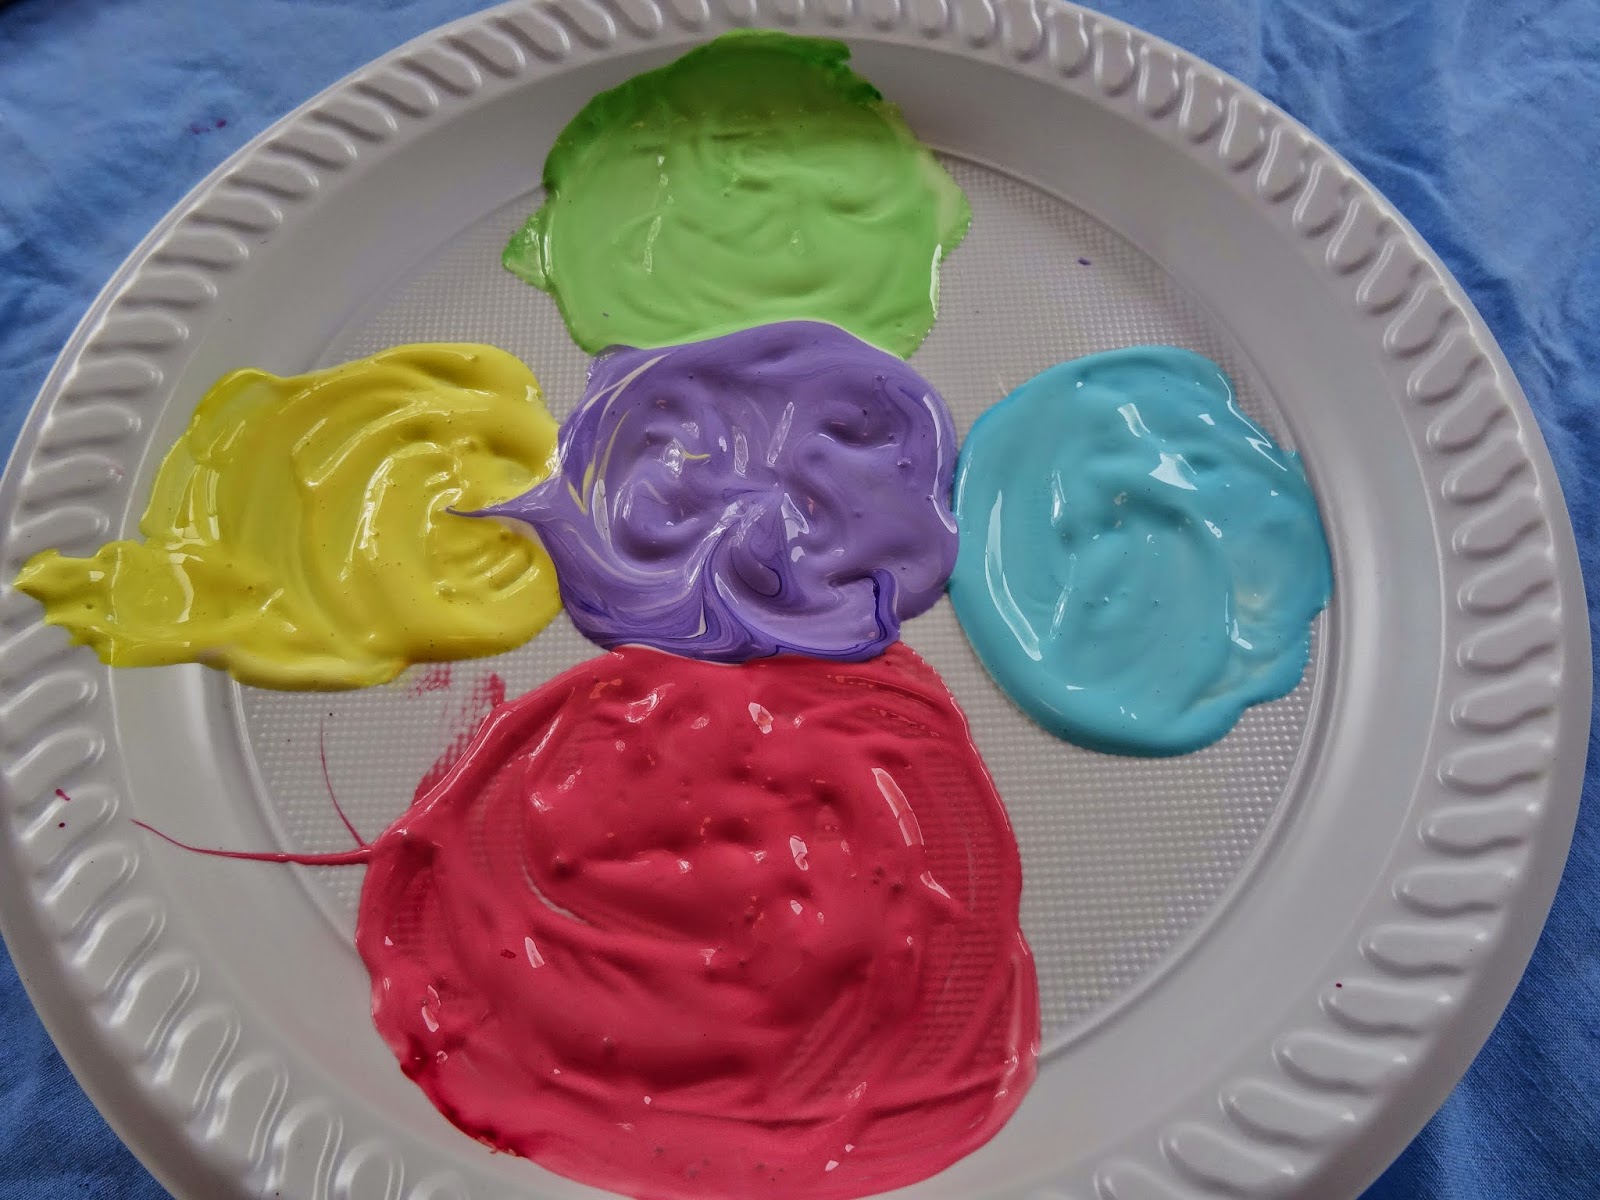
Step 1:
First off you are going to want to get your plate and put your paint on it. If you are using the white paint and food colouring method there are plenty of sites that will show you how to create the colour you are trying to achieve. I just experimented by eye.
Step 2:
You are then going to want to start painting on your canvas. If you have a reference you can go by that. Try work quickly on your first layer with all your paint so you have time to mix/ blend the colours together before the paint dries or sets . *You can use your CLEAN fingers to blend the paint if you want, or sponges, it is up to your personal preference in the end.
Use a dabbing or circular motion whilst you paint. You'll find you won't need a large amount of paint using a sponge since it's easier to spread across. Also a tip for not smudging or mixing unwanted paint together is to work from the opposite top side of what hand you use. For the clan of the right hand this means working from the top left hand side. For the clan of the left hand this means starting from the top right hand side and working from there.
Step 3:
| Here is an example of two sides of the canvas |
Step 4:
Since you don't have to do thick layers of paint the drying time isn't long. I was able to touch my canvas within the hour without taking any paint off. But it varies by paint and how thick you apply it. Then your beautiful design should be ready to hang or be placed on a shelf. Below is how my design turned out and I'm quite happy with it!

Step 5: OPTIONAL
Now if you want you can draw a design over your paint work to add a little more interest to your work I won't stop you. In fact I encourage it! I didn't want to post mine just in case my friend somehow saw it and it would ruin the surprise. So I took a picture of the now coloured canvas and edited the picture with graphic drawing so I wouldn't give the surprise away. Even though these designs below are done digitally on my laptop I'm sure that you could easily do a replica with a marker. Or even go to the net and get a reference or to get inspired. The only limit for this step is your imagination. Be sure to test your design before you do your good copy for best results.
Once your drawing is completed your Canvas is now fully completed. Below are just a few easy and simple designs that you might like to do or use as inspiration.


How was it? Simple but effective is what I think!
I really hope my friend likes it as much as you do and I would love to see your recreations on Instagram. Just tag me in it. For those who don't know my Instagram username is @cutelycrafting
I'll be seeing you next week with something I haven't thought of yet because I am a lazy teenager who has the attention of a goldfish on meth ☺
~Sincerely Cutely Crafting☼
No comments:
Post a Comment